
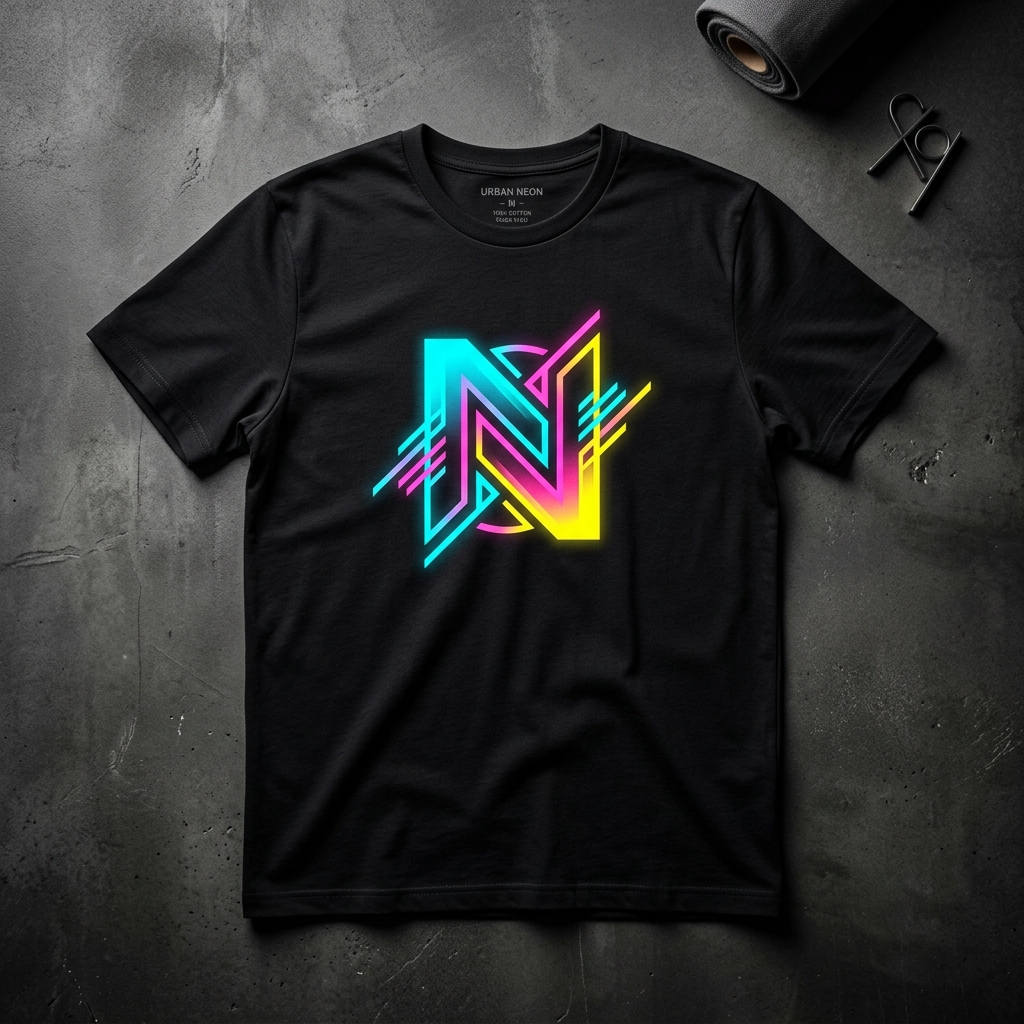
Logo Placement Guide: The Top Standard Print Locations
The ultimate guide to the top standard print locations, giving you the best advice, with examples, for the perfect logo placement on your custom apparel.
Fast Apparel AI Generated
When designing custom apparel, choosing the right artwork is only half the battle. Where you place that artwork can completely change the vibe, professionalism, and impact of the final product.
Whether you're printing uniforms for your staff, creating merch for a band, or designing a family reunion tee, understanding standard print locations is crucial.
Here is the Fast Apparel ultimate guide to the top standard print locations and why they work best.
1. Left Chest (Pocket Area)
The standard for professionalism and subtle branding.
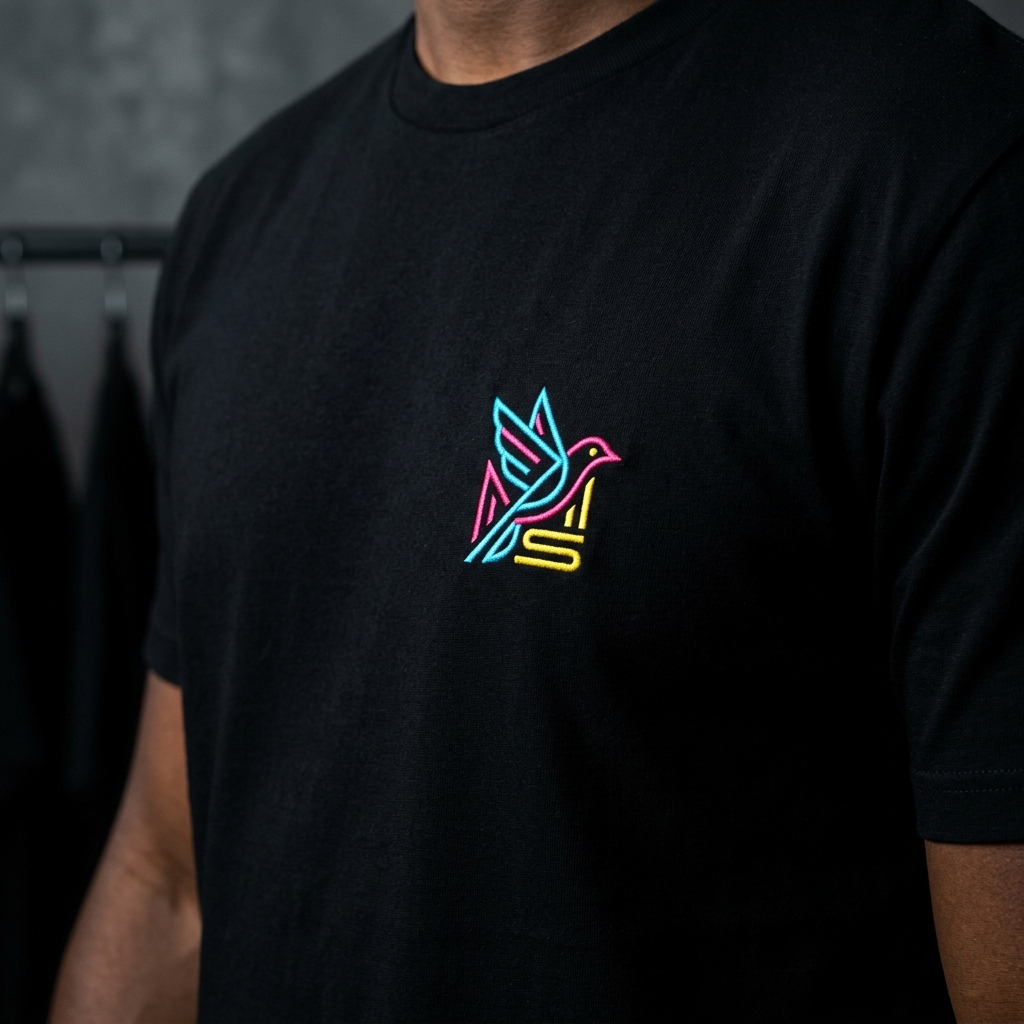
The left chest is the most traditional and classic location for corporate apparel, uniforms, and polo shirts. It's subtle, professional, and easily visible when you're speaking with someone face-to-face.
* Standard Size: 3" to 4" wide.
* Best For: Corporate logos, employee names, subtle event branding.
2. Full Front Center
Loud, proud, and impossible to miss.
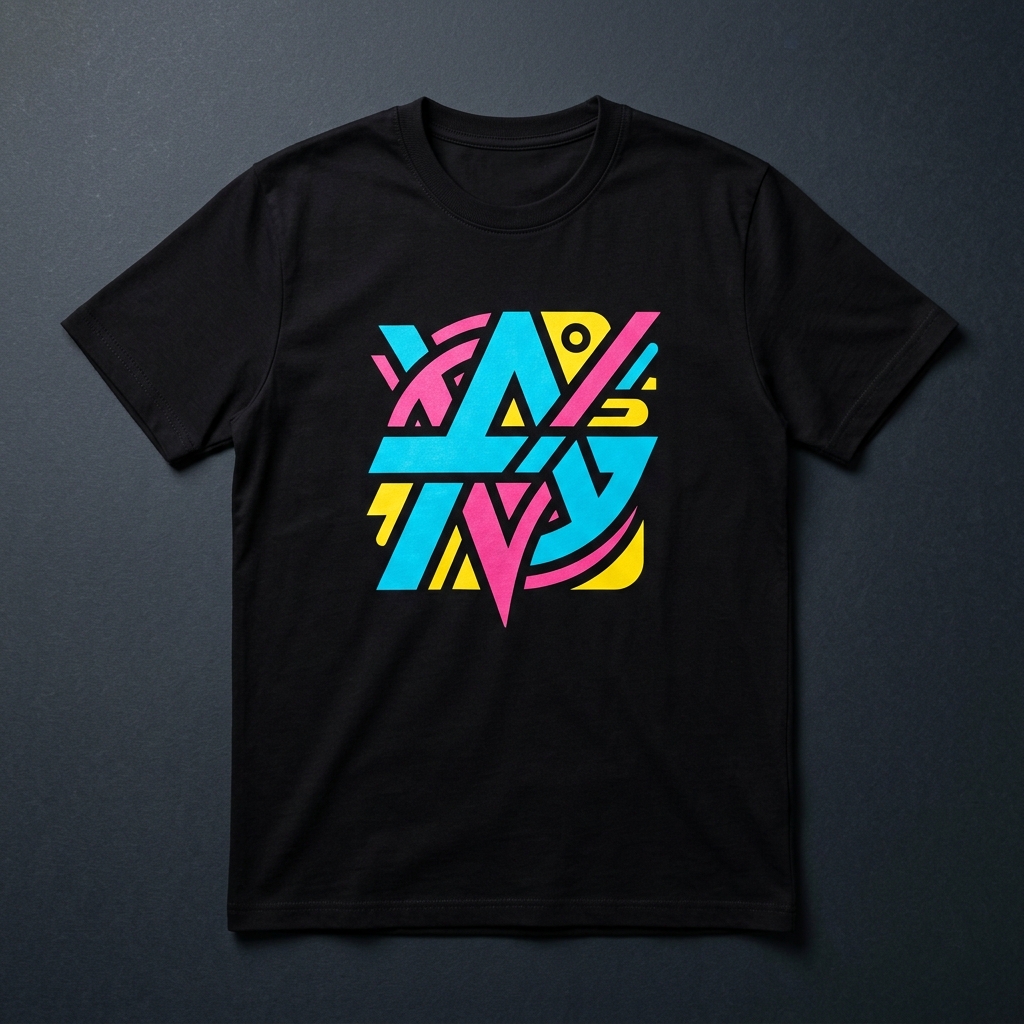
If you have a detailed graphic, a vibrant illustration, or a message that you want everyone to see immediately, the full front is your best bet. This is the go-to location for retail merchandise, band tees, and event giveaways.
* Standard Size: 10" to 12" wide.
* Best For: Complex artwork, large typography, retail-ready merchandise.
3. Oversize Front
Maximum impact streetwear style.
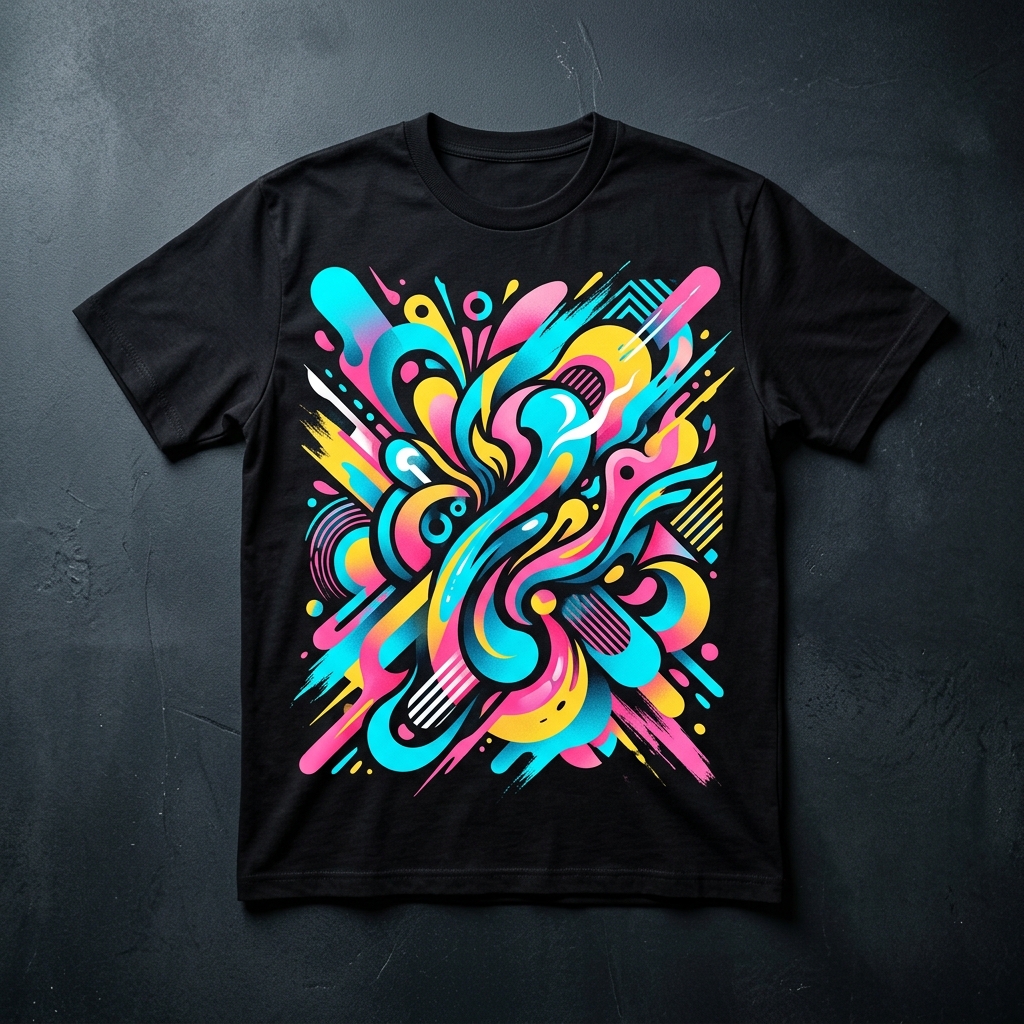
Oversize printing pushes the boundaries of traditional center chest printing. It spans from the chest down to the mid-stomach, offering a massive canvas. This is heavily favored by modern streetwear brands, fitness apparel, and statement graphics.
* Standard Size: 12" - 15" wide.
* Best For: Streetwear designs, bold graphics, statement merchandise.
4. Back Collar (Small Upper Back)
A subtle mark of authenticity.
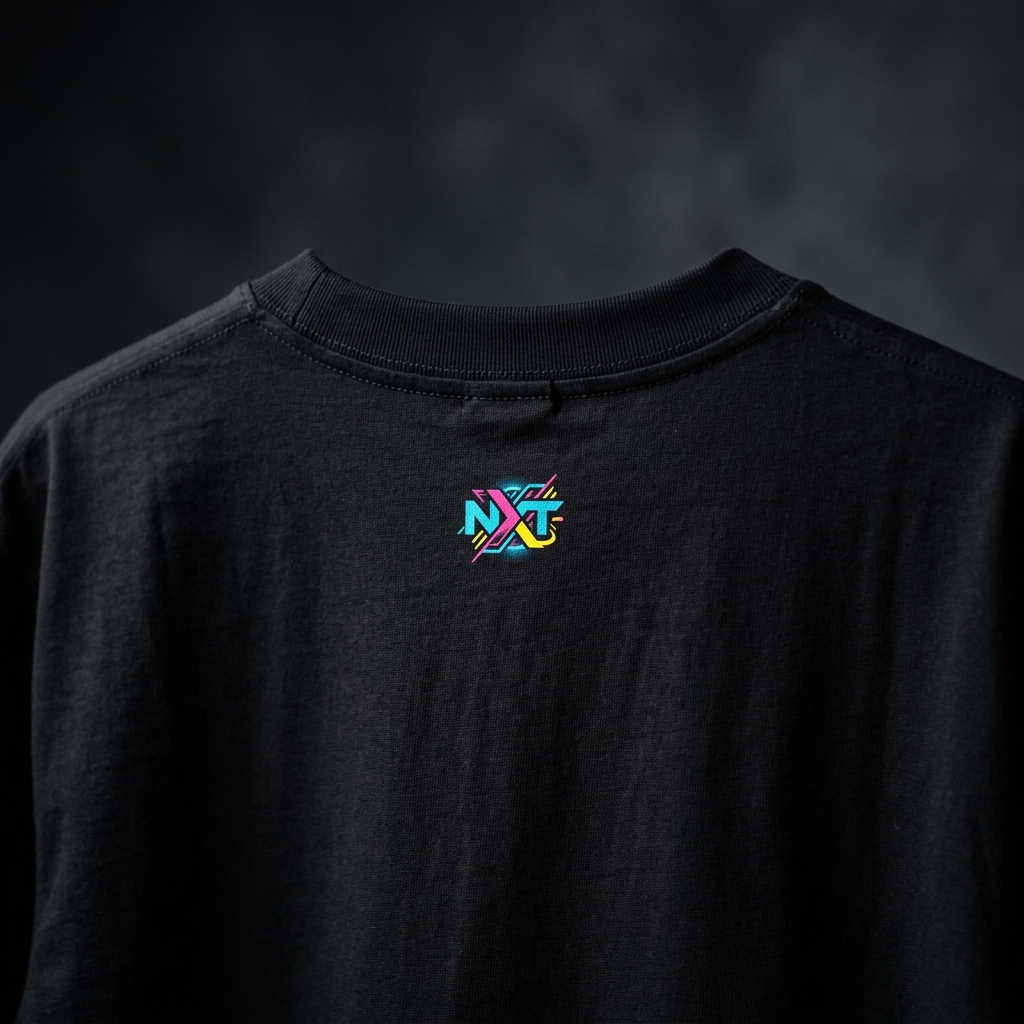
Printed just an inch or two beneath the back collar seam, this small placement is perfect for a brand's logo, an icon, or a secondary mark. It acts much like an exterior woven label, adding a subtle premium touch.
* Standard Size: 1" - 3" wide.
* Best For: Small brand logos, icons, minimalist accents.
5. Upper Back
Broad and highly visible.
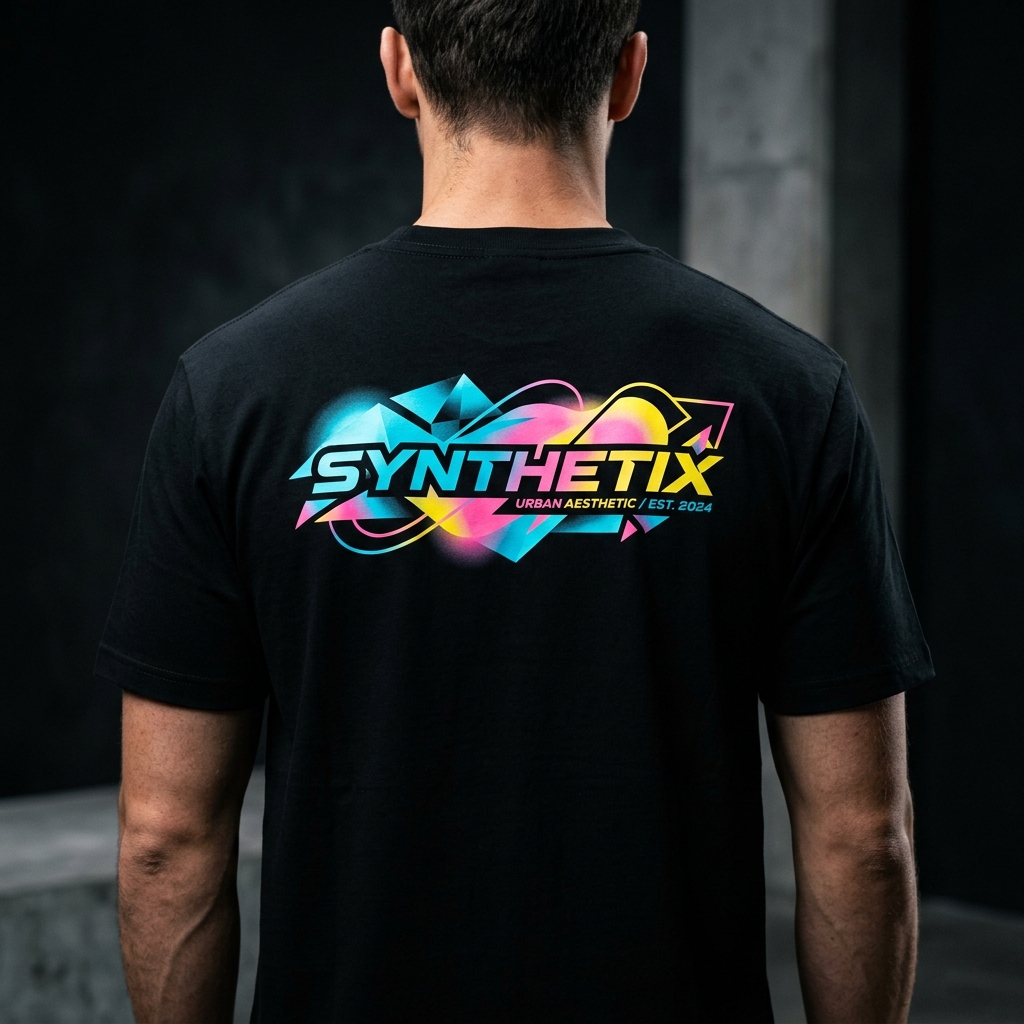
Sitting squarely across the shoulder blades, the upper back is ideal for wide typography, team names, or event titles. It is highly visible from a distance and is universally understood as a prime branding location.
* Standard Size: 10" - 14" wide.
* Best For: Team names, wide logos, security/staff lettering.
6. Full Back
The walking billboard.
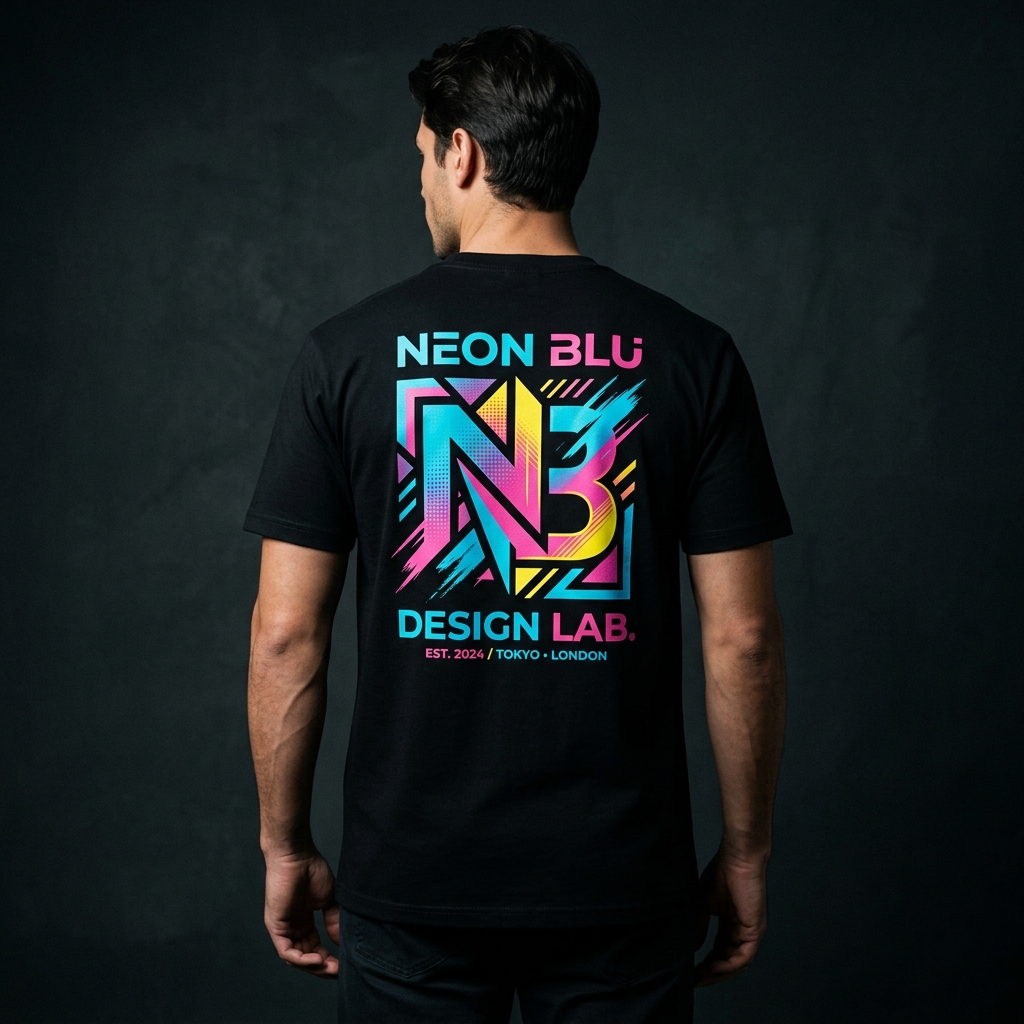
The full back provides the largest canvas on the shirt. Because the back is relatively flat and doesn't stretch as much as the front during movement, large graphics sit perfectly here. This is often paired with a subtle Left Chest logo on the front.
* Standard Size: 10" to 14" wide.
* Best For: Staff shirts (e.g., "SECURITY" or "STAFF"), tour dates, sponsor lists, large intricate designs.
7. Sleeves
The modern retail touch.
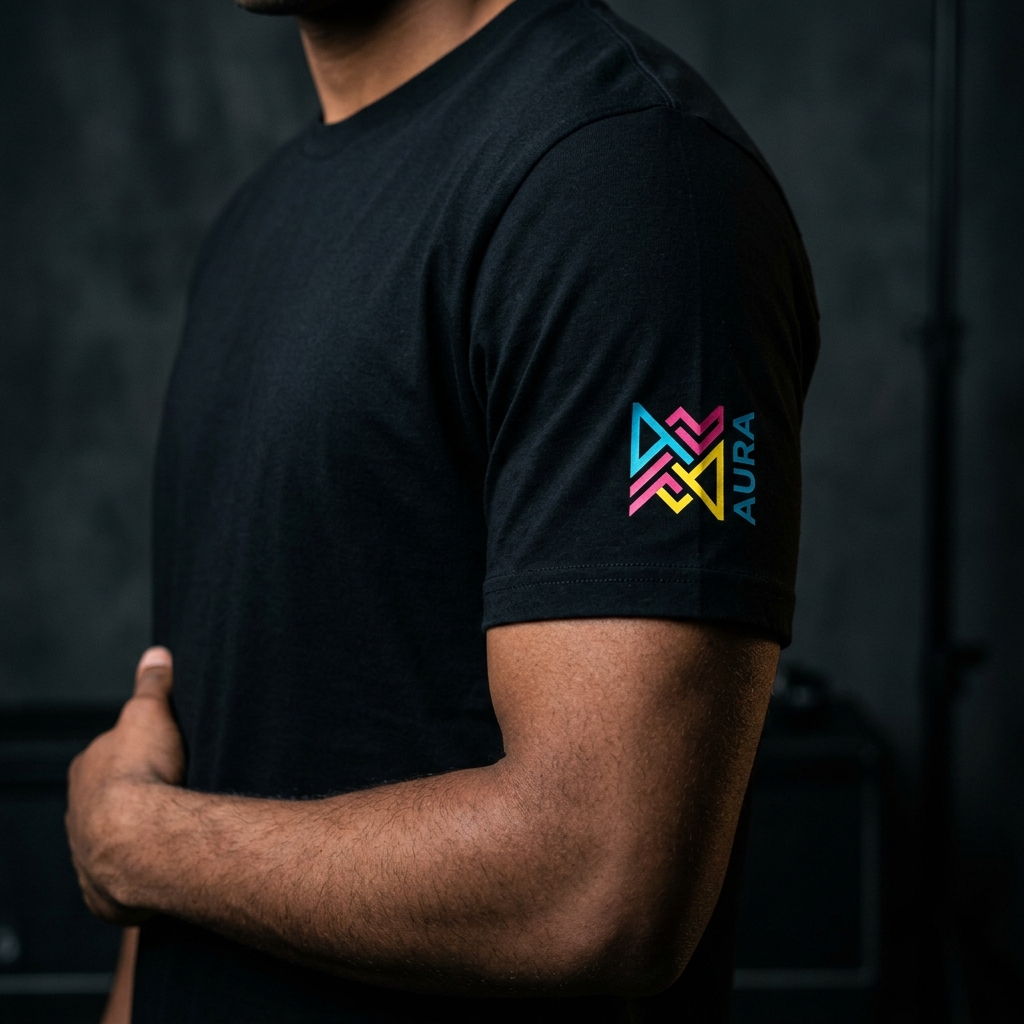
Printing on the left or right sleeve adds a premium, high-end retail feel to any garment. It's a great secondary location to feature a brand icon, an American flag, or a sponsor logo without cluttering the main body of the shirt.
* Standard Size: 2.5" to 3.5" wide.
* Best For: Secondary logos, flag patches, brand icons, subtle accents.
Ready to Print?
At Fast Apparel, we specialize in high-quality DTF (Direct-to-Film) printing that ensures your logos look incredibly vibrant, no matter which placement you choose. We even provide digital mockups before we print so you know exactly how the final product will look.
Ready to start your project?
Get a free quote and digital mockup in 24 hours. No pressure, low minimums on DTF.


